No. 53 · Breakfasts and Mason Jar Meals
Chocolate Protein Oats
Instant oats pre-mixed with chocolate protein powder — add hot water on arrival. It sits in our Breakfasts and Mason Jar Meals collection and takes roughly 5 minutes of hands-on prep with no cooking at all, which makes it realistic on a departure morning rather than only in an ideal kitchen. Like every recipe here it is completely pork-free — no bacon, ham, lard, pork stock or pork-derived gelatine — and it is written for travellers who are packing food into a bag, a cooler or a carry-on rather than plating it up at home.
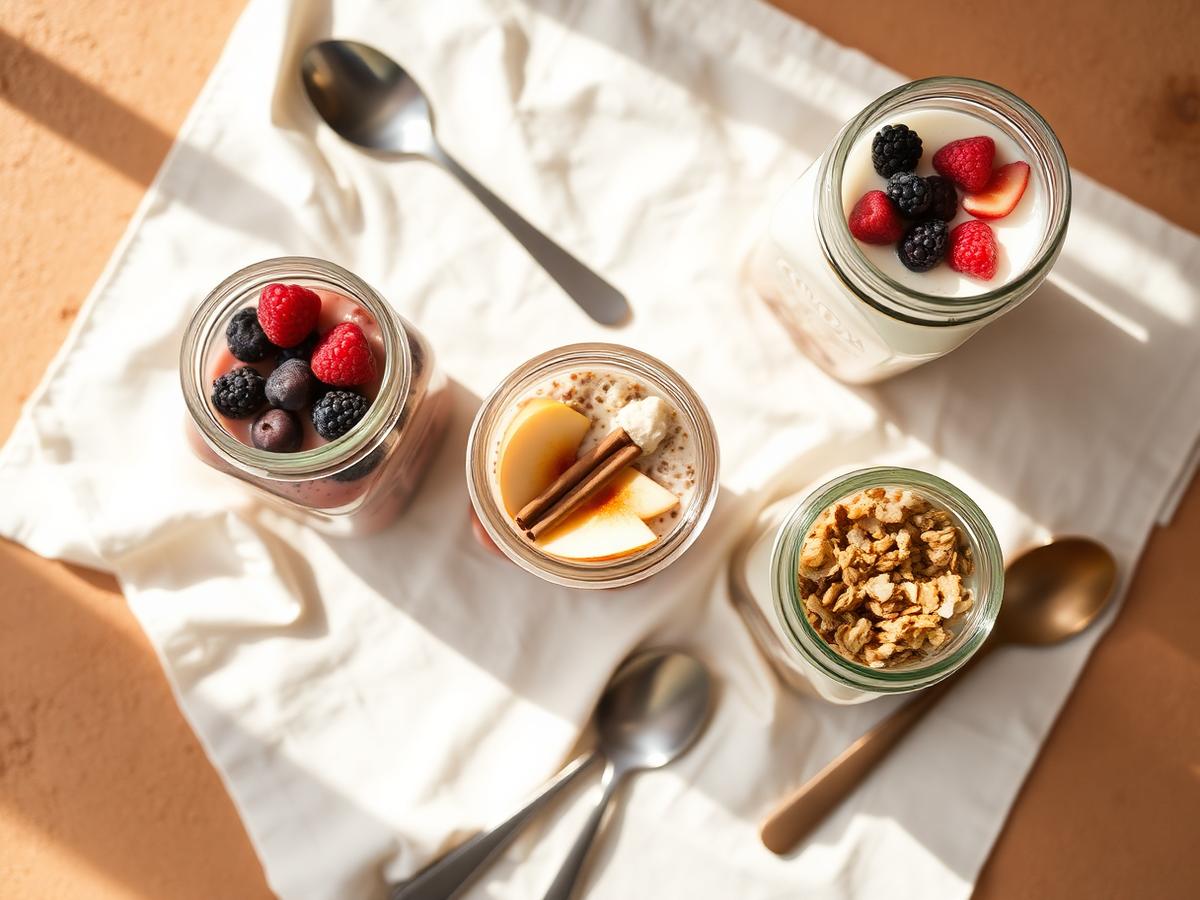
- Prep
- 5 min
- Cook
- No cook
- Total
- 5 min
- Servings
- 2
- Difficulty
- Easy
Pork-free: Completely pork-free: no pork, bacon, ham, lard, pork stock or pork-derived gelatine. Check labels on any processed ingredient for pork derivatives, alcohol and allergens, as brands vary by country. Halal-friendly when verified ingredients are used.
Ingredients
Makes 2 travel portions · amounts shown in metric units
- Instant oats100 g
- Chocolate protein powder60 g
- Cocoa powder10 g
- Ground cinnamon2 g
- Salt1 g
Equipment you need
- Knife and small chopping board
- Mixing bowl or the travel container itself
- Airtight travel container or wide-mouth jar
- Travel bottles under 100 ml / 3.4 oz for any spread or dressing
Preparation instructions
- 1
Set out everything you need and wash your hands — clean hands and a clean surface matter more on the road than in your own kitchen.
- 2
Add the instant oats to a clean wide-mouth jar or a lidded travel cup.
- 3
Add chocolate protein powder, cocoa powder, ground cinnamon and stir well so nothing clumps at the bottom.
- 4
Seal and refrigerate for at least four hours, ideally overnight, so everything softens and thickens.
- 5
Top with fruit or crunch in the morning — added last, it stays bright rather than soaking through.
- 6
Travel with the jar upright against an ice block, and eat within the window on the storage card below.
Make-ahead guidance
- Built for make-ahead: assemble the night before and it will be better, not worse, in the morning.
- Prep dry components up to three days ahead and keep them sealed at room temperature.
- No chilling needed, so you can batch this a week out and forget about it until you leave.
- Keep dressings, sauces and anything crunchy in separate pots until the moment you eat.
Packing instructions
- Pack in a rigid airtight container rather than a bag — squashed food is the single most common travel food complaint.
- Flying: solid food clears security in most countries, but spreads, dips and dressings count as liquids. Decant them into containers under 100 ml / 3.4 oz.
- Shelf-stable: no ice needed. Keep it out of direct sun and away from a hot car dashboard so nothing melts or goes rancid.
- Backpacking: repack into a resealable bag to cut weight and bulk, and carry your rubbish out with you.
- Label every container with the date and time it left the fridge. It removes all guesswork later.
Storage, chilling and reheating
- Storage duration
- Sealed and dry at room temperature: 2–4 weeks. Once opened, use within 5–7 days.
- Cooler / refrigeration
- Shelf-stable — no cooler needed
- Reheating
- Designed to be eaten cold or at room temperature. No reheating needed, and reheating will not improve it.
Food safety: keep perishable food at or below 4°C / 40°F, and never leave it unchilled for more than two hours — one hour above 32°C / 90°F. Use a clean, dry spoon each time, and when in doubt, throw it out.
Travel suitability
- Air travel: security-friendly and low-odour for a full cabin.
- Road trips and RVs: easy to eat one-handed at a rest stop, no cutlery drama.
- Backpacking and camping: sturdy, packable and forgiving of a warm day.
- Hotels and hostels: works with a kettle, a mini-fridge or nothing at all.
Allergy information
No major allergens in the base recipe. Still check labels on anything processed you buy abroad.
Nutrition estimate (per serving)
- Calories
- 314 kcal
- Protein
- 13 g
- Carbohydrate
- 38 g
- Fat
- 12 g
- Fibre
- 5 g
- Sodium
- 230 mg
Estimated values. Actual nutrition varies with local brands, portion size and substitutions.
Substitutions
- Rolled oats → quick oats, or certified gluten-free oats if needed.
- Fresh herbs → half the quantity of dried, added earlier so they rehydrate.
- For a vegan version, swap dairy for plant-based yoghurt or cheese and use maple syrup instead of honey.
Budget tips
- Buy the base ingredient — grain, beans, oats or bread — from a supermarket rather than a convenience store or transport hub. It is routinely half the price.
- Tinned and dried staples are the cheapest travel calories per gram anywhere in the world, and they never need ice.
- Scale the batch up and split the cost across the group — this recipe multiplies cleanly.
Filters this recipe matches
Browse more in Breakfasts and Mason Jar Meals or return to the 100 Pork-Free Travel Meals collection.